Build an Arduino Self-Driving Car
Summary


Overview
This eight-part lesson will guide you through building and programming Arduino-controlled autonomous cars with your students. Each part contains a detailed step-by-step video and a supplemental lesson plan PDF with learning objectives, assessment opportunities, and appendices with circuit diagrams and example code. You can present the material yourself or have students follow along with the videos and pause to work on their autonomous cars.
Learning Objectives
- Learn to build circuits and program individual parts of an autonomous car, including:
- Using an H-bridge to control speed and direction of motors
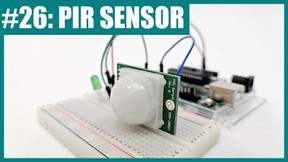
- Using an ultrasonic sensor to detect obstacles
- Using infrared sensors to detect lines
- Design and implement an algorithm for self-driving behavior, such as automatic obstacle avoidance and automatic lane following
NGSS Alignment
This lesson helps students prepare for these Next Generation Science Standards Performance Expectations:- HS-ETS1-2. Design a solution to a complex real-world problem by breaking it down into smaller, more manageable problems that can be solved through engineering.
|
Science & Engineering Practices
Constructing Explanations and Designing Solutions. Design a solution to a complex real-world problem, based on scientific knowledge, student-generated sources of evidence, prioritized criteria, and tradeoff considerations.
|
Disciplinary Core Ideas
ETS1.C: Optimizing the Design Solution.
Criteria may need to be broken down into simpler ones that can be approached systematically, and decisions about the priority of certain criteria over others (trade-offs) may be needed.
|
Crosscutting Concepts
Influence of Science, Engineering, and Technology on Society and the Natural World. New technologies can have deep impacts on society and the environment, including some that were not anticipated. Analysis of costs and benefits is a critical aspect of decisions about technology.
|
Materials
Each group of students will need:
- Science Buddies BlueBot Robotics Kit
- Electronics Kit for Arduino
-
Windows or Mac computer. See this page if you have a Chromebook. Your computer will need:
- Access to the Arduino IDE, either installed local version or web-based editor (note that Chromebooks can only use the web version). Watch this video for a comparison of the two options.
- USB port. The Science Buddies kit comes with a USB-A to B cable. The "B" end plugs into the Arduino and the "A" end plugs into your computer. You will need an adapter or different cable if your computer only has USB-C ports. Watch this video to learn about the different types of cables and adapters.
You will also need materials to make at least one test track for your classroom, such as posterboard, construction paper, and colored tape. See the track creation guide for suggestions.
Background Information for Teachers
This section contains a quick review for teachers of the science and concepts covered in this lesson.Note: This course assumes that students have worked with Arduino before and are familiar with some of the basics like blinking an LED and using a button. If you are introducing your students to Arduino for the first time, please see the Introduction to Arduino lesson plan at Science Buddies before starting this lesson. That way, your students will be ready to dive right into the more advanced topics in this course, like controlling the sensors and motors that you will need for an autonomous vehicle.
Self-driving, or autonomous, cars are becoming a part of daily life. Even if they are too young to drive, students might be curious about how self-driving cars work, or wonder whether they're safe. Having students build, program, and test their own self-driving cars is a great way to introduce them to new programming and electronics topics. First, students will learn how to control the speed and direction of motors with an Arduino, and how to use the motors to steer their car. Next, they will learn how to use two different types of sensors — ultrasonic and infrared — to detect obstacles and lane lines. Finally, they will synthesize everything they have learned to program a self-driving car that can autonomously navigate a track.
Each lesson in this course contains a video that walks students step-by-step through building the circuit and programming one key feature of a self-driving Arduino car, culminating in designing a full algorithm for the car's operation. You can choose to have your students follow the videos directly, or use the supplemental lesson plan PDFs and present the material yourself. Each PDF contains appendices with the relevant circuit diagrams and example code for the lesson, along with learning objectives and assessment opportunities.
Note that you will need to assemble the BlueBot chassis for each vehicle. Once assembled, these chassis can be re-used year after year. Instructions for assembling the chassis are available in this video:
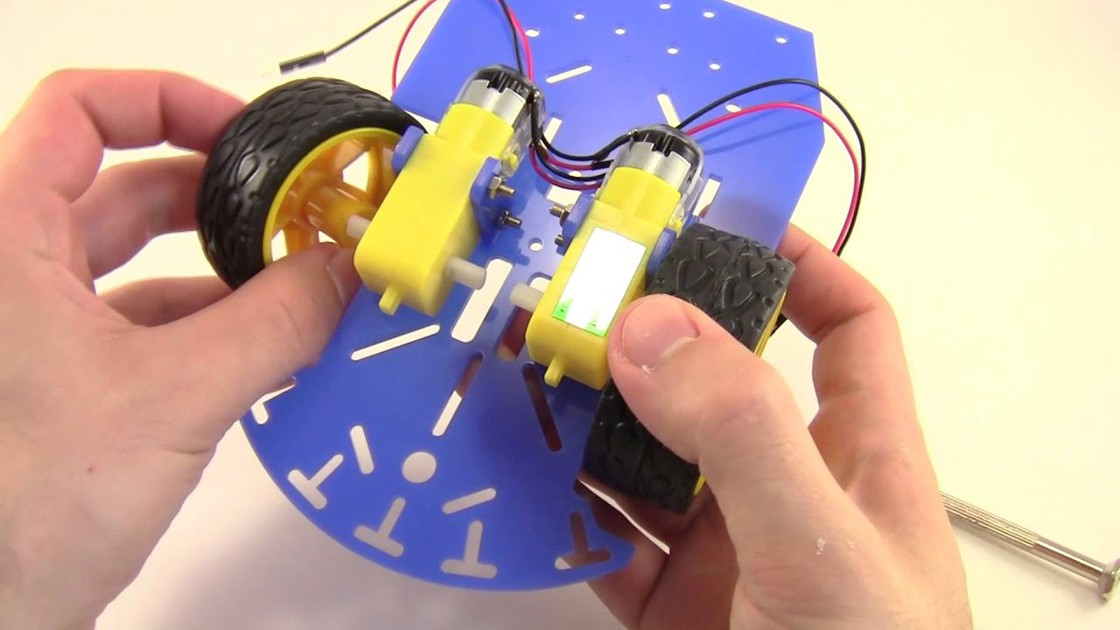
Note that the video shows the battery pack mounted on top of the chassis. When adding an Arduino to the car, you should put it on the top plate so it is next to the breadboard. You can mount the batteries on the lower plate. Double-sided foam tape works well to quickly attach parts to the chassis, as opposed to using screws.
Many of the videos in these lessons use Tinkercad Circuits, an online circuit simulator, to demonstrate building circuits and programming the Arduino. Your students can follow along with a physical Arduino, but you can also use Tinkercad Circuits as a teaching tool. This video provides an introduction to Tinkercad Circuits:

More high-quality computer science lessons can be found at Infosys' Pathfinders Online Institute.